


How To Remove Dreadlocks Like A Pro!
Let’s talk about something we don’t always see online: removing dreadlocks... or the uninstall.
You’ve spent weeks…maybe a month rocking your dreadlocks. They’ve carried you through workdays and weekends, coffee runs and late-night talks, maybe even a vacation or two. They’ve seen you through mornings when you didn’t feel like doing your hair, and moments when you caught your reflection and thought, damn, I look good.

But now, the time has come. The uninstall.
And if you’ve ever taken your dreadlocks out before, you already know what happens: you’re sitting on the couch, pulling and unraveling, and suddenly your hands are full of hair. Like… a lot of hair. Enough to make your heart drop into your stomach because you’re wondering, wait… is this normal? Did I just ruin my hair?

Spoiler alert: Something like this is PERFECTLY normal.
Here’s the thing nobody tells you before your first uninstall: shedding is normal. Completely, absolutely normal. You lose 50 to 100 hairs a day. Multiply that by three weeks or a month of wearing a protective style, and of course it looks like a mountain when it all comes out at once. That’s not your hair “falling out.” That’s just your natural shed, catching up.
But even though it’s normal, it can still feel scary. Which is why today I want to walk you through exactly how to uninstall dreadlocks without losing a ton of hair or at least without feeling like you are. This isn’t just about technique; it’s about mindset, patience, and giving yourself permission to treat uninstalling like the ritual it actually is.
Here’s how I do it, step by step.
Step 1: Trim Before Your Install

I know, I know…. this is technically something you do before you even braid in your dreadlocks, but hear me out. A fresh trim is one of the best gifts you can give your future self. And I can’t stress how important it is to do it.
When your ends are split or damaged, they tangle like crazy. And guess what happens when it’s time to uninstall? You spend hours fighting with knots that never seem to end, and the more frustrated you get, the more likely you are to rip through them instead of patiently detangling. That’s breakage, not shedding.
A trim doesn’t have to be dramatic. We’re not talking about chopping off inches. Even just snipping off those rough ends… the ones that snag when you run your fingers through your hair can make uninstalling smoother, easier, and way less heartbreaking.
Think of it like this: you wouldn’t start painting a wall that’s cracked and peeling. You’d prep it first, smooth it out, make sure it’s ready to hold paint beautifully. Same with your hair. A quick trim sets the foundation, so when you come back weeks later to uninstall, you’re not battling damage on top of tangles.
Your future self will thank you.
Step 2: Use the Right Parting Combination
Parting might seem like a small detail, but it’s one of those little things that makes a huge difference down the line.
When your scalp is sectioned neatly, uninstalling is straightforward: each braid has its lane, each section is clean, and everything knows where it belongs. But when the parts are random or uneven? That’s when you end up with hair crossing over, tangles between sections, and more shedding than necessary.
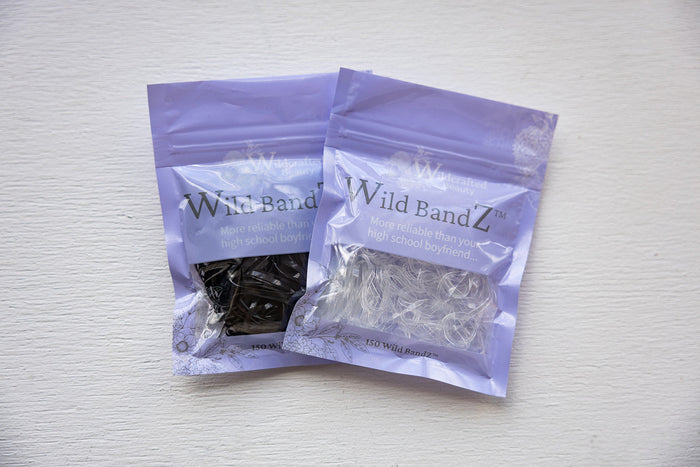
Think of parting like the blueprint for your whole style. It’s not about being perfect (hair is never about perfection), but it’s about being intentional. A brick-lay pattern, for example, isn’t just for neatness… it’s for flow. It helps your dreadlocks fall naturally, and it makes uninstalling later so much easier because your hair is already organized.
Here’s my advice: take your time with parting. Use a rat-tail comb, use clips, and if you get tired halfway through, take a break. Don’t rush this step just to get to the “fun” part of installing. Your uninstall depends on the foundation you set.
Read this blog on how to install your dreadlocks!
Step 3: Don’t Pull… Unbraid With Intention
I know it’s tempting. You’ve had the hair in for weeks, your arms are tired, your scalp feels tight, and you just want it OUT. But tugging dreadlocks out is like yanking a necklace knot… you don’t fix it, you just make it worse.
When you pull, you’re not just taking out the extension. You’re ripping at your natural hair, snapping strands that could’ve been saved if you’d slowed down. Instead, think of uninstalling as un-braiding. Patient, methodical, one small movement at a time.
If your hair feels stuck, pause. Use your fingers to loosen buildup gently, or add some Crown Nectar to help things slip. Don’t muscle through it. This is not the moment for force.
Here’s a reframe: uninstalling is like unwrapping a gift you gave yourself weeks ago. Take your time. Savor it. Don’t rip the paper off so fast you miss the joy of seeing what’s inside.
And one more thing: understand that this is a process. If you’re cranky, impatient, or pressed for time — do. not. do. it. now. You’ll only end up frustrated, and your hair will pay the price. Wait until you have space, patience, and the right energy to give your crown the care it deserves.
Step 4: Comb From the Bottom Up
The biggest mistake women make during uninstall? Starting at the roots.
Listen, your roots are where all the buildup lives: product, oils, lint, all of it. If you go straight in with a comb at the top, you’re just packing that gunk down and creating a bigger knot. Start at the ends. Always.
Comb a little, move up. Comb a little more, move up again. It’s slower, but it’s effective. You’re untangling in layers instead of trying to fight the whole knot at once.
Think of it like climbing a staircase: one step at a time, not trying to leap all the way to the top. Your hair deserves that patience. And your arms? They’ll thank you later when you don’t have to redo the same section over and over.
Pro tip: Keep a Cooling veil bottle nearby or plain water if that’s what you’ve got. You don’t want to soak your hair, just give it a light mist. A little moisture can help loosen knots without making your strands too fragile. And if you’re using Cooling Veil, you get the bonus of calming your scalp so it feels relaxed instead of tight.
Step 5: Bring in Some Crown Nectar
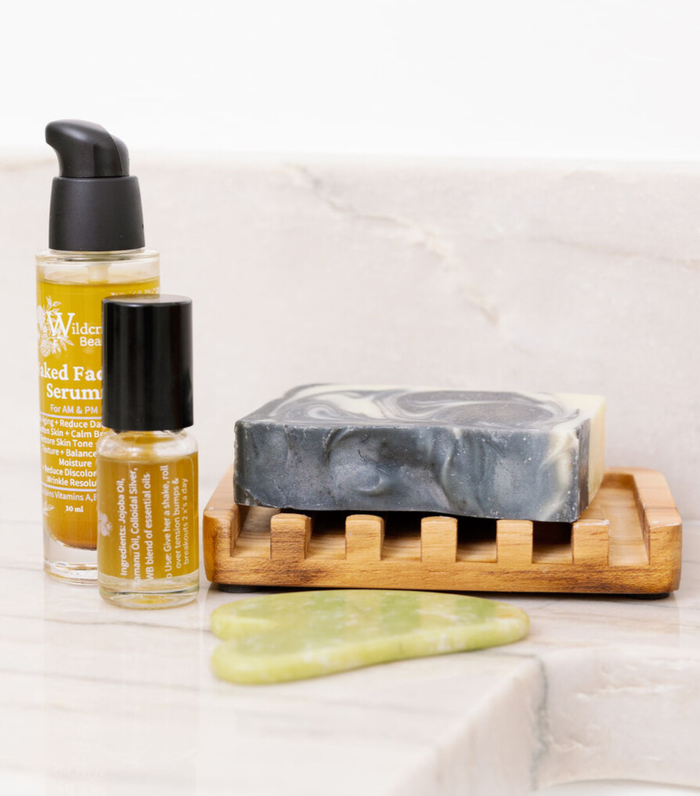
Sometimes, no matter how patient you are, your hair just needs a little extra support. That’s exactly why we created Crown Nectar It’s not just for the day you install your dreadlocks — it’s there for you at every stage, including uninstall day.

If your strands feel dry, if knots are stubborn, or if your scalp feels itchy and tense, just a few drops can change the whole game. Crown Nectar softens, hydrates, and adds the slip your hair needs so your comb glides instead of yanks.

All of that comes from a crafted blend of powerhouse ingredients: almond oil, jojoba, apricot oil, avocado oil, castor oil, colloidal silver, plus our signature mix of plant essential oils. Each bottle is loaded with vitamins A, B6, C, E, and K so you’re literally feeding your hair and scalp with every pump.
Here’s my rule: don’t wait until you’re frustrated. If you’ve been working on one section for too long, pause, breathe, and add serum.
This isn’t a race.
The goal isn’t to uninstall the fastest; it’s to uninstall the kindest.
Step 6: Always Remove on Dry Hair
This one surprises people. Because we’re taught that wet hair is easier to detangle. And yes, in some cases, that’s true but not when you’re uninstalling dreadlocks.
When your hair is wet, it’s at its most fragile. Strands stretch, snap, and break so much easier. And the last thing you want after rocking a protective style is to damage your hair during the takedown.
Dry hair gives you more control. It’s stronger. It holds up better against the tugging and combing that comes with uninstalling.
Here’s my little ritual: I always set aside a day when I know my hair is completely dry. I make a vibe out of it: comfy clothes, a snack, maybe a good show playing in the background. Uninstalling becomes a self-care day instead of a stressful chore.
I want you to remember this, queen: that little ball of hair in your palm? That’s not a red flag. That’s not damage. That’s just weeks of natural shedding finally catching up all at once. In fact, it’s proof that your protective style did exactly what it was meant to do… it gave your hair a break, it gave you confidence, and now it’s giving you space for what’s next.
After you’re done, take a moment to enjoy how much lighter and healthier your natural hair feels. Give your scalp a breather, take a few days off from styling if you can, and then, when you’re ready, go ahead and put those dreadlocks back in. Because let’s be honest… once you’ve fallen for them, it’s hard to stay away.

Want to see what this ACTUALLY looks like in real life? Watch Berlin and Leslie in this YouTube Video where they hang out and uninstall dreadlocks
Showing exactly how fun and easy this can be and while you’re there, don’t forget to hit subscribe so you can catch every behind-the-scenes moment with us.
1 comment
-
I have tried a couple different synthetic extensions, not sure of the actual fiber, and have had devastating reactions to them. How safe are your extensions?
Deborah Lantrip on